Making the model
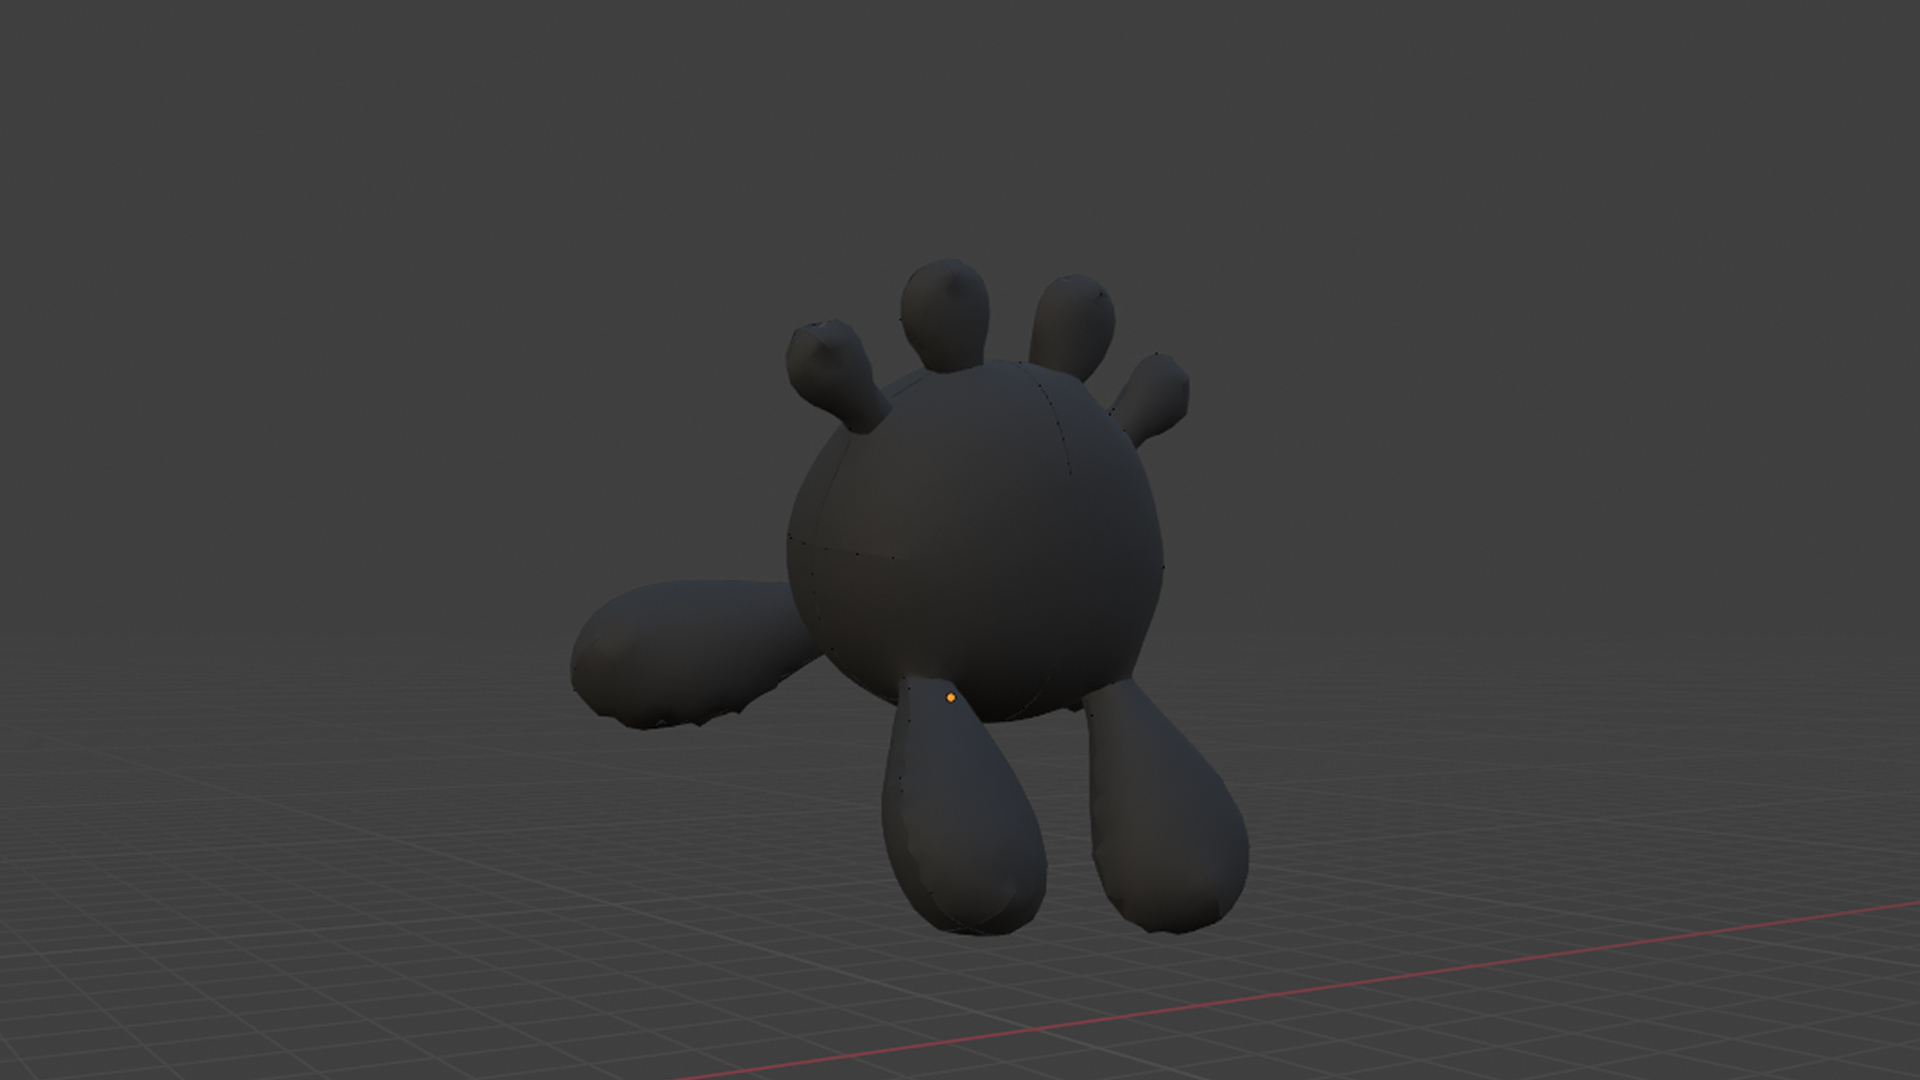
Time to bring your idea to life!
While this tutorial will show you how to work on an end product with a plush in mind, be warned that this is not a complete beginner tutorial on any of the mentioned software.
Before you start modeling, bring your images into Blender. Hit Shift + A, and add an image reference. Find the image in your directory. Align the image from the front orthographic view (numpad 1) or side orthographic view (num3).

Now that you are ready to start modeling, hit CTRL + 2 to add a Subdivision surface modifier to your base cube. this adds geometry and smooths out your edges. Using the tools in Blender (Loop Cutter, Box selection, etc.), start shaping your cube to match your reference image. Some other helpful hotkeys include: G, R, S, and Shift+Z.

To create your pattern pieces, you need to add the seams that you want to sew along. in Edit mode, on edge select mode, shift + left click on the edges you want to add seams, right click, and click "add seam". If done correctly, the edges you had selected should now highlight in red. A good tip for deciding where you want to add your seams is to look at other sewn plushies, and see where they add their seam lines.

Once you are happy with your seams, tab back into Object mode, select the Object menu in the top left, and find the button that says "Seams To Sewing Patterns". Hover over that, then click on the very first button. This takes the seams you just created and unwraps their shapes, leaving you flat shapes (or your pattern pieces.)
Repeat the same steps again, but this time click on Quick Clothsim. This simulates how your plush will look once sewn. If you are not satisfied with the results, you can go back to your original mesh and play around with the seams. This step may take a while to get a result you are happy with. Once happy, you are ready to export.

